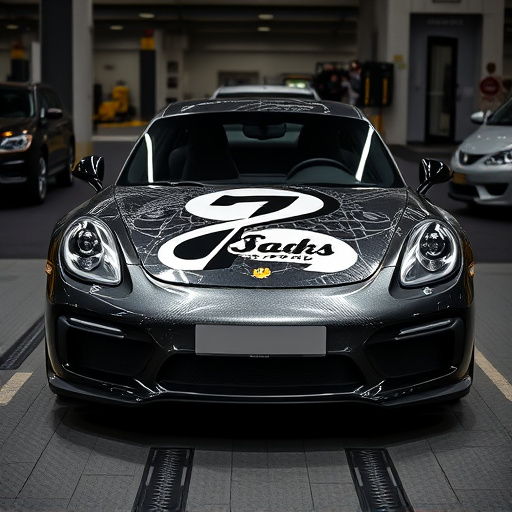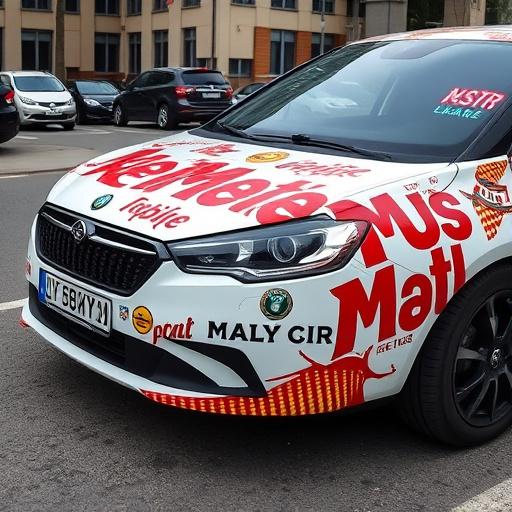


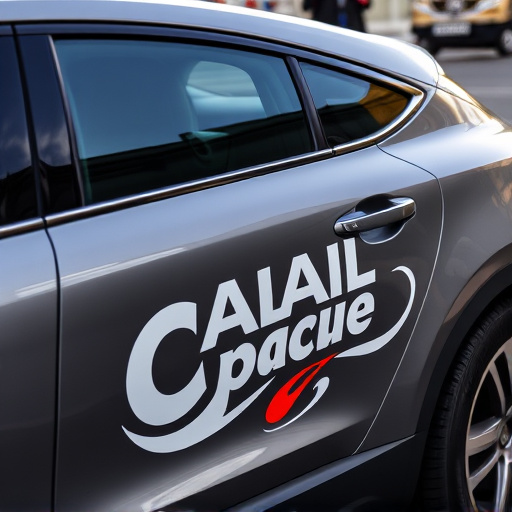
Before installing racing stripes, clean and prepare car surface with shampoo and sandpaper, removing old residue. Accurately measure and mark stripe positions. Use professional automotive services or heat rejection films for optimal results, minimizing wrinkles and protecting paint job. Apply adhesive thinly, position graphics carefully, and smooth out air pockets for a flawless finish.
Looking to give your ride a high-performance look? Installing racing stripes without wrinkles is easier than you think. First, prepare your car’s surface by washing and drying it thoroughly. Then, measure and mark the stripe positioning accurately using tape or markers. Next, apply adhesive with careful precision, ensuring even coverage. Finally, stick on the racing stripes smoothly, avoiding bubbles or creases. With these simple steps, transform your vehicle into a sleek, racing-inspired masterpiece.
- Prepare Your Car Surface for Stripes Application
- Measure and Mark Racing Stripe Positioning Accurately
- Apply Adhesive and Strip With Careful Precision
Prepare Your Car Surface for Stripes Application
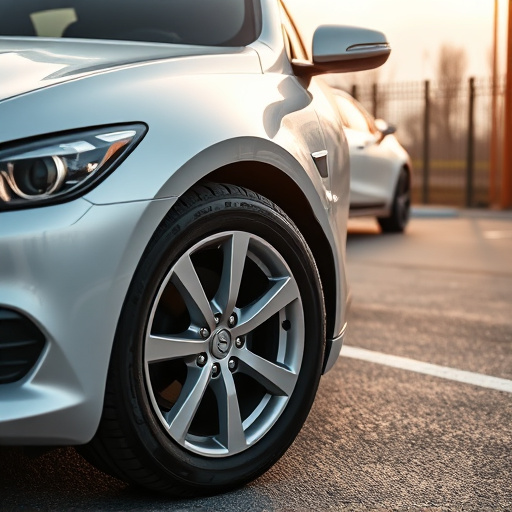
Before applying racing stripes, ensuring your car’s surface is clean, smooth, and free from any debris or contaminants is paramount. Start by washing your vehicle thoroughly using a dedicated car shampoo and microfiber towels to remove dirt, grime, and wax buildup. Pay close attention to areas where the stripes will be installed, scraping away any residue or remnants of old paint or tape.
Once the surface is clean, consider using a fine-grit sandpaper to smooth out any imperfections, ensuring an even base for your racing stripes. This step is especially crucial if your car has seen better days or has existing paint defects. Applying a layer of paint protection film (PPF) or UV protection can also be beneficial, offering a barrier against the elements and adding an extra layer of defense for your vehicle’s finish, which is particularly important when installing custom graphics.
Measure and Mark Racing Stripe Positioning Accurately

Before you begin the racing stripes installation, accurate measurement and marking are crucial steps to ensure a smooth process. Start by cleaning the surface thoroughly to eliminate any dirt or debris that might hinder adhesion. Use a measuring tape to determine the exact length and width of the area where the racing stripes will be applied. This precision is key to achieving a professional look without wrinkles. Mark the positions along the car’s body using a marker, making sure each stripe aligns perfectly with the adjacent ones for a seamless finish.
For a successful installation, consider engaging premium automotive services that offer specialized tools and expertise in racing stripes application. Their knowledge of paint protection film techniques can also be beneficial, ensuring your vehicle’s paint job remains intact and protected from potential damage. Additionally, using heat rejection films during the installation process can help prevent wrinkles by providing a smooth base for the stripes to adhere to.
Apply Adhesive and Strip With Careful Precision
When installing racing stripes, meticulous care during the application of adhesive and placement of the strips is paramount to achieving a flawless finish. Begin by ensuring your car surface is clean, dry, and free from any contaminants that could hinder adhesion. Apply a thin layer of high-quality adhesive along the designated areas where the racing stripes will be placed. This step requires precision; use a small tool or spatula to spread the adhesive evenly, following the contours of the car’s curves for seamless integration.
With the adhesive in place, carefully position the custom graphics (racing stripes) onto the car surface. Use a smooth, even pressure to press down on the strips, ensuring they adhere firmly to the adhesive. For professional PPF (Paint Protection Film) installation, this step demands patience and attention to detail. Avoid bubbles or wrinkles by smoothing out any air pockets immediately, using a squeegee or your hands for a precise, wrinkle-free application.
Installing racing stripes without wrinkles requires meticulous preparation, precise marking, and careful application. By ensuring your car surface is ready, accurately measuring and marking stripe positioning, and applying adhesive and stripes with precision, you can achieve a professional-looking racing stripe kit installation. Remember, a smooth, wrinkle-free finish not only enhances the aesthetic appeal but also protects your vehicle’s paintwork. Happy striping!