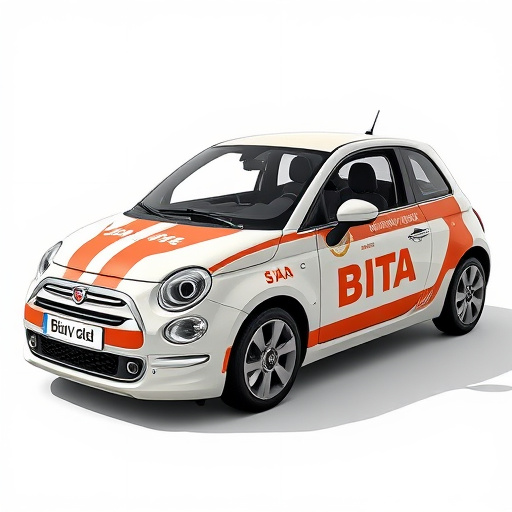


Before installing racing stripes, gather high-quality automotive kits with durable vinyl strips, adhesive, remover, scissors, and a squeegee. Clean and dry your bumper or grill thoroughly to ensure proper adhesion. Use a suitable adhesive, apply precise pressure, and remove air bubbles for a durable, scratch-resistant finish that enhances vehicle aesthetics and cooling benefits.
“Elevate your vehicle’s style with a DIY racing stripes installation guide. This step-by-step process shows you how to transform your bumpers and grills into a race-inspired masterpiece. From gathering essential materials like high-quality vinyl racing stripes and adhesive, to preparing the surface for optimal adhesion, each stage ensures a precise and smooth application. Discover the art of enhancing your car’s aesthetic with this comprehensive racing stripes installation tutorial.”
- Gather Materials and Tools for Racing Stripes Installation
- Prepare Surface: Cleaning and Drying Bumper or Grill
- Apply Adhesive and Place Racing Stripes Precise and Smoothly
Gather Materials and Tools for Racing Stripes Installation

Before you begin the exciting process of applying racing stripes to your car’s bumpers and grills, it’s essential to gather all the necessary materials and tools for a successful installation. For a professional look, invest in high-quality racing stripe kits that are designed specifically for automotive applications. These kits typically include pre-cut strips made from durable vinyl or other advanced materials, ensuring long-lasting and vibrant colors. Don’t forget to purchase adhesive and remover, which play a crucial role in securing the stripes to your car’s surface.
Additionally, you’ll need some essential tools like precision scissors or a cutting tool for trimming the stripes to fit, a squeegee for applying pressure during installation, and a clean microfiber cloth for spot cleaning. If your vehicle has complex curves or hard-to-reach areas, consider adding an air compressor or heat gun to help with the application process, enhancing both the quality of finishes and ease of installation. Remember, proper preparation is key to achieving not just visually appealing racing stripes but also functional solutions for improved cooling through enhanced heat rejection, similar to the benefits of ceramic window tinting.
Prepare Surface: Cleaning and Drying Bumper or Grill

Before applying racing stripes, ensuring your bumper or grill is clean and dry is paramount for successful installation. Begin by removing any dirt, grease, or debris using a dedicated cleaner suitable for automotive surfaces. A soft-bristled brush can help dislodge stubborn grime. Rinse thoroughly with water to eliminate all cleaning agents and allow it to air dry completely. This preparation step is crucial as it ensures your custom graphics (such as racing stripes) adhere properly and last longer, just like professional window tinting or paint protection film applications.
Apply Adhesive and Place Racing Stripes Precise and Smoothly

When applying racing stripes, one of the crucial steps is to use the right adhesive and place them precisely and smoothly. Start by cleaning the surface thoroughly to ensure optimal adhesion. Use a high-quality adhesive designed for automotive applications, as this will offer both strength and flexibility, crucial for enduring the rigors of driving. Apply a thin layer of adhesive along the edges of where the stripes will be placed, ensuring it covers the entire length of the bumper or grill.
Gently lay down the racing stripes, adjusting them precisely to align with the existing lines and contours. Use a smooth, flat tool like a plastic card to press the stripes down firmly while smoothing out any bubbles or wrinkles. This step is critical for achieving a clean, professional look that not only enhances the aesthetic appeal but also provides scratch protection and is underpinned by protective coatings.
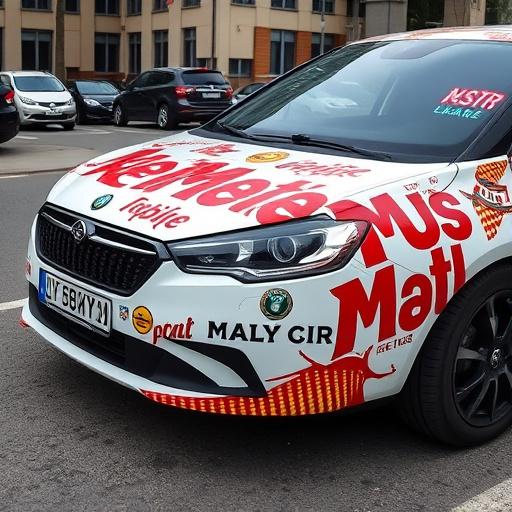
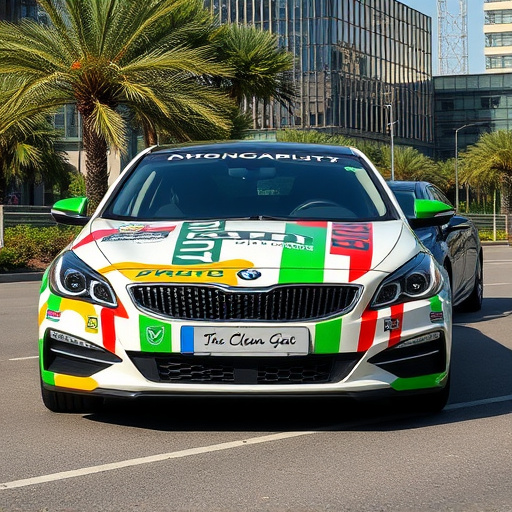
Applying racing stripes to your bumper or grill can transform your vehicle’s exterior, giving it a dynamic and aggressive look. By carefully following these steps for a successful racing stripes installation, you can achieve professional results that enhance your car’s appeal on the road. Remember, proper preparation and attention to detail are key to a durable and visually striking finish.